
Area-of-Effect Crowd Control Attack
Advanced
Shadow Tactics: Blades of the Shogun
- Status
- Released
- Year
- 2016
- Genre
- Indie, Strategy
- Platforms
- Windows, macOS, Linux
1. Summary
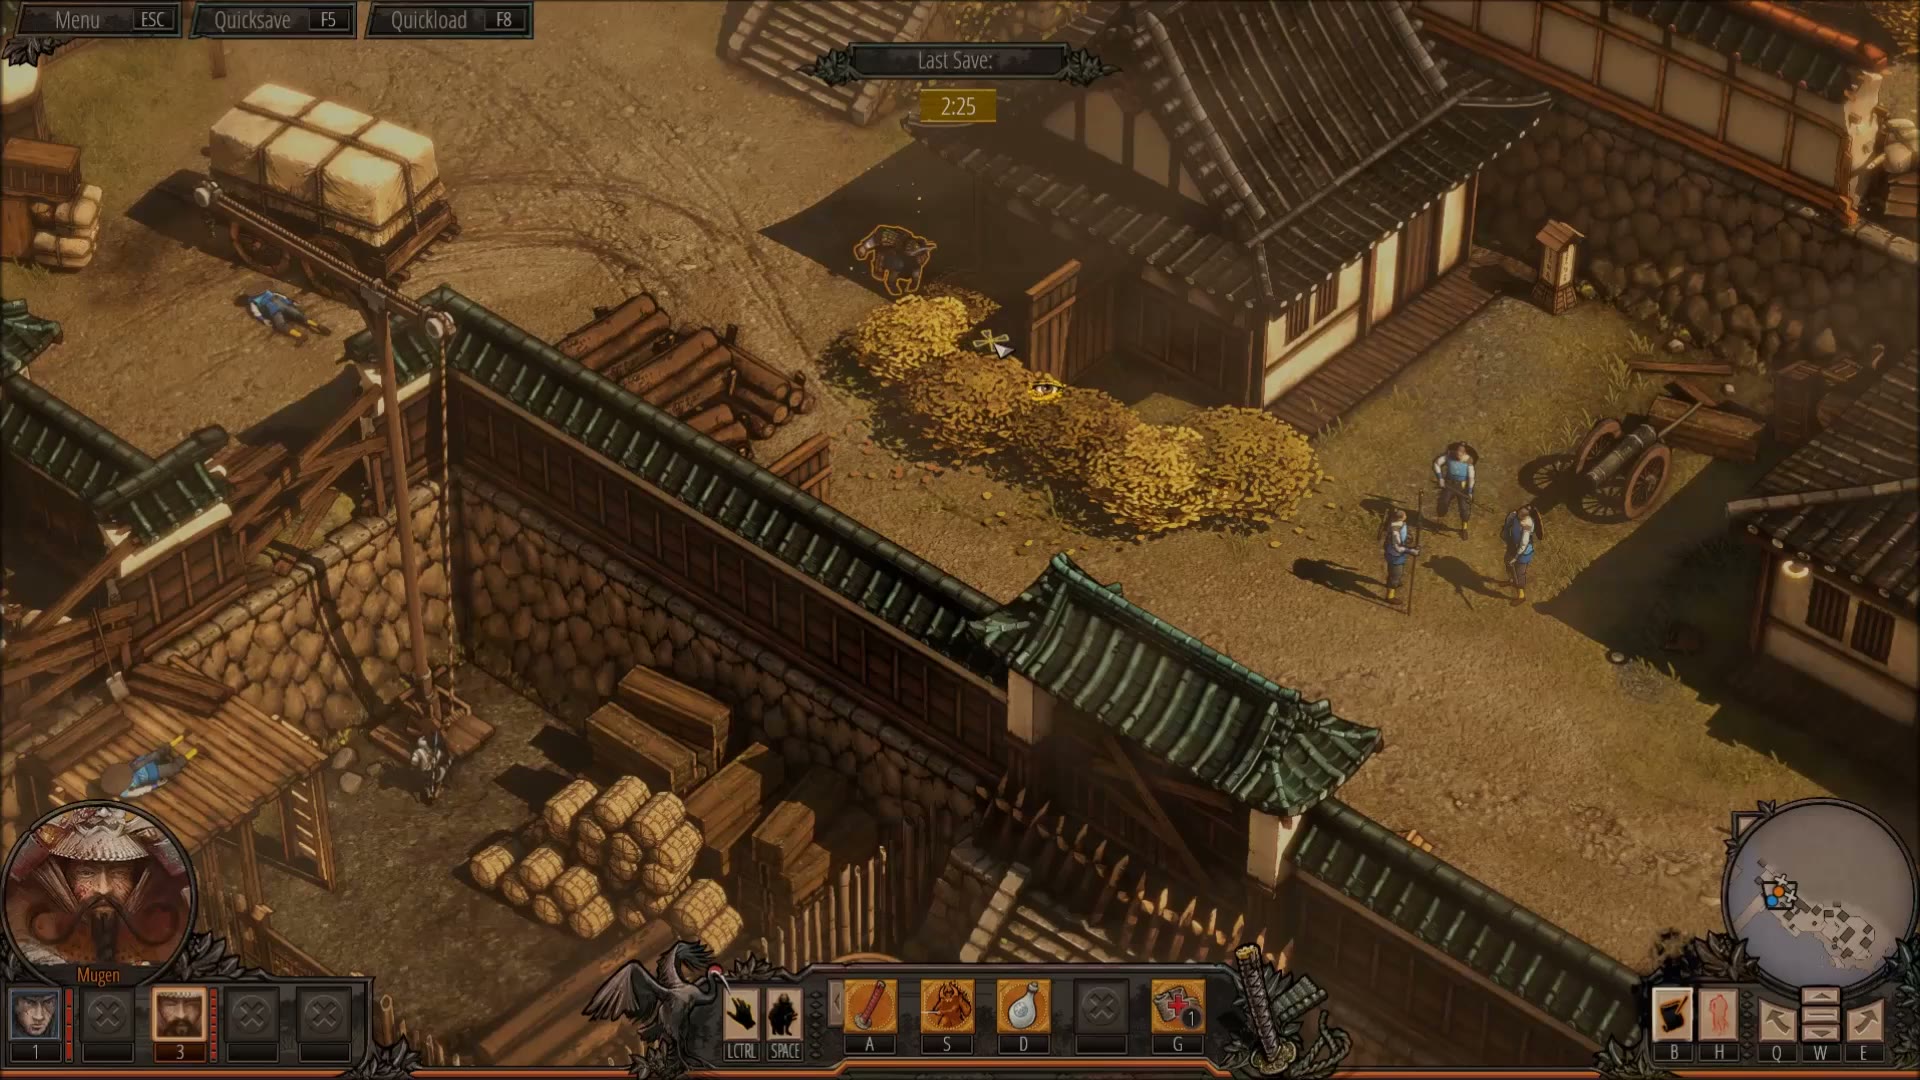
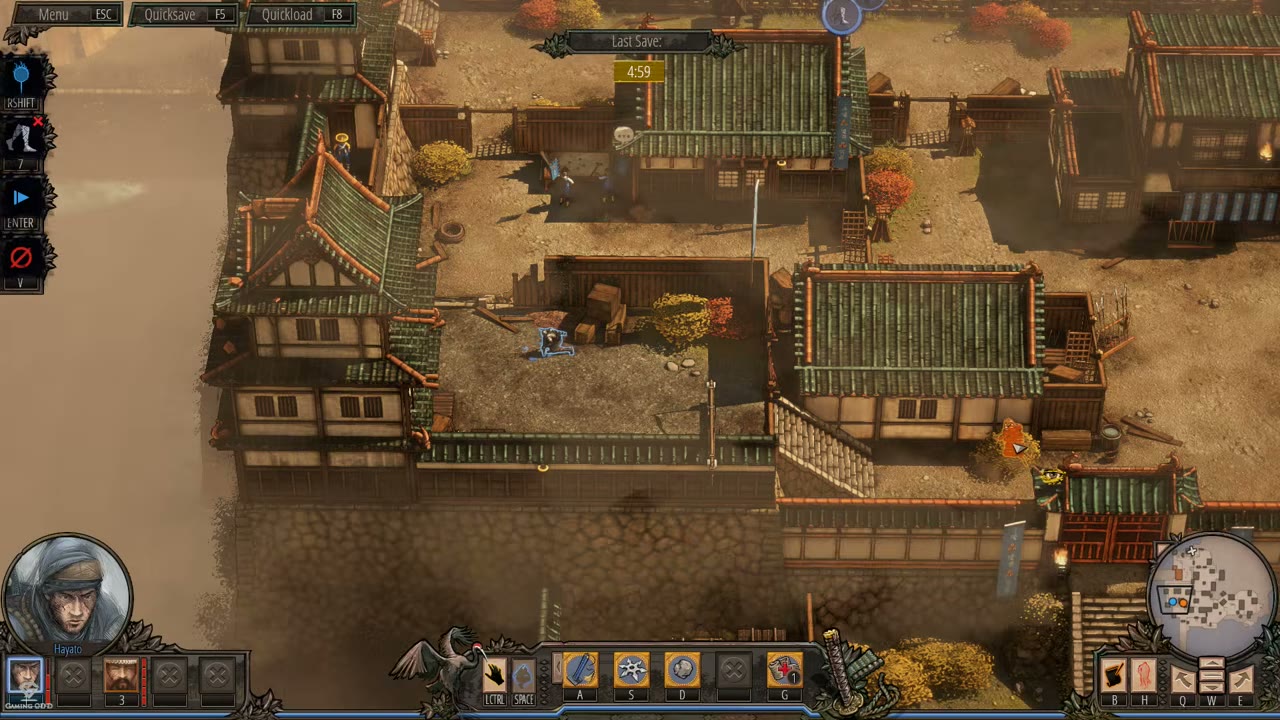
An area-of-effect melee crowd-control attack lets its owner dash to a designated target zone and perform rapid cuts, killing non-Samurai enemies inside the radius in one committed action. In Shadow Tactics this is represented by Mugen's Sword Wind/Kazakiri on the S ability slot: it is highly effective against clustered guards, but takes several seconds, leaves the attacker vulnerable during execution, excludes Samurai, and is limited by a long cooldown.
3. Design Intent / Job Story
When multiple non-Samurai enemies are clustered tightly enough to block a route, I want to commit one high-impact area attack against the group, so that I can collapse the encounter quickly while accepting the risk of exposure, cooldown, and elite-enemy immunity.
4. Role in Gameplay Loop
- Provides a high-impact answer to dense non-Samurai guard clusters that are too risky or slow to dismantle one by one
- Converts positioning and enemy grouping into a lethal payoff after lures, patrol timing, or route planning
- Creates a deliberate risk-reward choice because the attacker must enter the target zone and remains vulnerable during the animation
- Reinforces enemy hierarchy by explicitly failing against Samurai, preserving the need for specialized anti-Samurai methods
- Adds cooldown pressure so players reserve the attack for meaningful multi-target opportunities instead of using it as a default takedown
5. Preconditions
- Mission is in active gameplay and the ability owner is selectable, alive, and controllable
- The area attack ability is unlocked and visible on the selected character's ability bar
- The ability is off cooldown
- A valid ground target point can be selected within ability range
- At least one enemy is inside the intended area of effect for the attack to have tactical value
- Targets intended to die are non-Samurai enemies
- The attacker can path or dash to the selected center point
- No enemy should be able to shoot or otherwise punish the attacker during the execution window if the player wants a safe use
6. Parameters
| Parameter | Value | Type | Notes |
|---|---|---|---|
| Ability slot | S | input binding | Observed/default PC slot used for Sword Wind/Kazakiri. |
| Targeting mode | Ground point / area circle | enum | Player chooses a target position rather than selecting one enemy. |
| Target preview | Red circle | visual | Tutorial frame shows the kill zone as a red area circle. |
| Execution movement | Dash/rush to center | action | The attacker moves to the center of the chosen area before killing. |
| Valid targets | Non-Samurai enemies | enemy filter | Enemies inside the area that are not Samurai are killed. |
| Samurai effect | No effect / no kill | enemy-state result | Samurai are explicitly immune to this area attack. |
| Demonstrated max kills | Up to 3 | integer | Source evidence describes and shows three enemies killed in one use. |
| Execution duration | Several seconds / TBD exact value | duration | The attack takes a few seconds and leaves the attacker vulnerable. |
| Cooldown | Long / TBD exact value | duration | Long cooldown prevents repeated use. |
| Safety requirement | No enemy line of sight/fire | tactical condition | Use is safest when no enemy can see and shoot the attacker during the animation. |
7. Core Rules
- The player activates the area attack from the selected character's S ability slot in the observed/default PC layout.
- Activation enters a target-selection state where the player chooses a ground position rather than a single enemy.
- The targeting preview communicates the affected area as a red circle.
- On confirmation, the attacker dashes or rushes to the center of the selected area.
- During execution, the attacker performs a rapid multi-cut melee sequence rather than separate player-issued attacks.
- All valid non-Samurai enemies inside the area are killed by the sequence.
- Samurai inside the area are not killed by this attack and must be handled by Samurai-valid counters.
- The attack is intended for clustered groups and can eliminate up to three enemies in documented gameplay/tutorial evidence.
- The execution takes several seconds, during which the attacker is vulnerable to enemy fire or other punishment.
- Safe use requires checking sightlines and ranged threats before committing to the animation.
- After execution, the ability enters a long cooldown that prevents immediate reuse.
- The attack's high lethality must not bypass alarm, body, or visibility consequences caused by nearby witnesses outside the affected group.
8. BDD Scenarios
Scenario: Kill clustered non-Samurai enemies
- Given
- the area attack ability is ready
- When
- the player activates the S ability slot and confirms the target point
- Then
- the attacker dashes to the center of the circle
- And
- three non-Samurai enemies are clustered inside the targeting circle
- And
- the attacker can reach the selected center point
- And
- the rapid-cut sequence kills the enemies inside the area
- And
- the ability enters its long cooldown
Scenario: Samurai survives inside the area
- Given
- the area attack ability is ready
- When
- the player executes the area attack
- Then
- the non-Samurai enemies inside the area are killed
- And
- a Samurai stands inside the targeting circle with one or more non-Samurai enemies
- And
- the Samurai survives because this attack has no effect on Samurai
Scenario: Unsafe use under enemy fire
- Given
- the area attack ability is ready
- When
- the player commits the area attack
- Then
- the attacker remains vulnerable while the sequence completes
- And
- ranged enemies can see the attacker during the execution path or animation
- And
- visible enemies can punish the attacker before control fully returns
Scenario: Cooldown blocks repeated use
- Given
- the player has just executed the area attack
- When
- the player attempts to activate the same ability again before cooldown recovery
- Then
- the ability does not execute
- And
- the Ability Command Bar communicates the unavailable cooldown state
9. Edge Cases
- Target circle contains a mix of Samurai and non-Samurai enemies; only valid non-Samurai targets die
- An enemy exits the circle or is moved by patrol timing between targeting and execution
- The selected center point is blocked, unreachable, or becomes invalid before the dash resolves
- A witness outside the area sees the attack or body aftermath and triggers alarm consequences
- A ranged enemy outside the area has line of sight and can shoot the attacker during the vulnerable animation
- The ability is queued or attempted while already on cooldown
- The target group is too spread out, causing only part of the patrol to be hit
- The attack kills the target group but leaves bodies in visible positions that create later discovery risk
- The player attempts to use the attack as an anti-Samurai solution and receives no kill on the Samurai
- The attacker is interrupted, killed, or otherwise punished before the committed sequence completes
10. QA Notes
- Verify S-slot activation enters ground-targeting mode and displays the red area circle
- Verify confirming a valid point makes the attacker dash to the center of the circle before executing cuts
- Verify all non-Samurai enemies inside the radius die when the sequence resolves
- Verify Samurai inside the radius survive and remain governed by Samurai immunity/counter rules
- Verify clustered three-enemy tutorial setup can be cleared in one use
- Verify the attacker is damageable or otherwise vulnerable during the several-second execution animation
- Verify visible ranged enemies can punish unsafe uses while enemies without line of sight do not
- Verify the ability enters a long cooldown after execution and cannot be reused until recovery
- Verify cooldown/unavailable state is reflected in the Ability Command Bar
- Verify bodies, witnesses, and alarms behave consistently after the attack rather than being suppressed by the ability
11. Mechanic Dependencies
- Stealth Detection System (Stealth detection and line-of-sight rules determine whether the attacker is safely hidden or exposed during the vulnerable animation.)
- Character Ability System (This is a specialized active ability within the Character Ability System and uses its readiness, targeting, cooldown, and character-state rules.)
- Enemy Type Hierarchy (Enemy type hierarchy determines valid targets, because this attack kills non-Samurai enemies but must respect Samurai immunity.)
- Shadow Mode Coordination System (Shadow Mode can coordinate timing, distractions, or simultaneous actions around this committed area attack.)
- Samurai (Samurai are the explicit exception to this mechanic, surviving inside the area and requiring separate Samurai-valid counters.)
- Four-Slot Ability Binding Framework (The Four-Slot Ability Binding Framework exposes the attack through the selected character's S ability slot and its availability state.)
12. UI Links
- Bottom Gameplay HUD Bar - The Bottom Gameplay HUD Bar contains the ability bar and active character context needed to select the owner and execute the attack during missions.
- Ability Command Bar - The Ability Command Bar exposes the S-slot Sword Wind command, shows targeting and availability, and communicates cooldown/unavailable state after use.
- Shadow Mode Command UI - Shadow Mode Command UI can be used to plan coordinated timing around this high-commitment area attack alongside other character actions.
- Enemy Vision Cones - Enemy Vision Cones inform the safe-use decision because the attacker is vulnerable if enemies can see and shoot during the committed animation.
- Tutorial Popup Window - The Tutorial Popup Window introduces Sword Wind with text and visuals explaining the red circle, dash-to-center behavior, kill radius, and long cooldown.
References
- 1.
Steam Community :: Guide :: Shadow Tactics: Full Character Guides and Tricks (L55-65 of 116)
- 2.
Shadow Tactics: Blades of the Shogun (L13-14 of 52)
- 3.
Let's Play Shadow Tactics Blades Of The Shogun - Ep. 1 - Silent Gameplay & Death! (15:53-16:45)
- 4.
Osaka Castle Mission 1 - Shadow Tactics-Blades of The Shogun (Hardcore) (22:23-22:45)