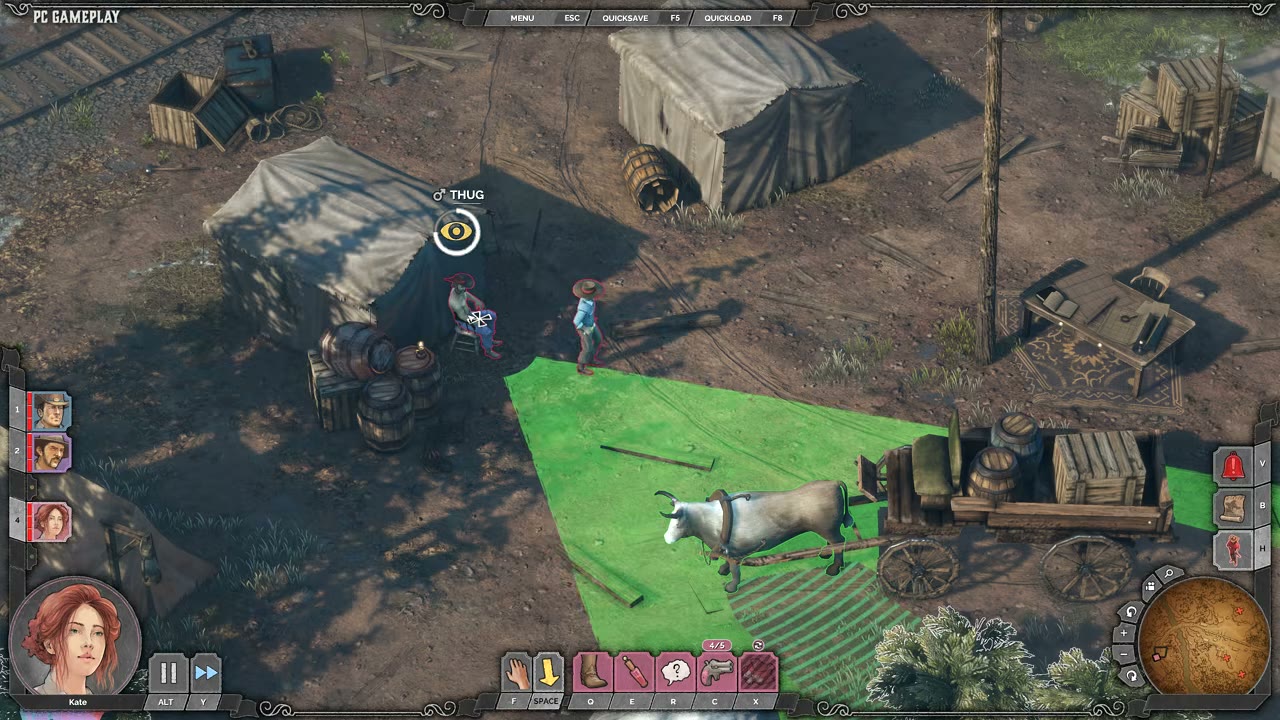
![Visual reference from Desperados 3 Let's Play Gameplay Walkthrough Pt 5 Bridge At Eagle Falls [1440p w/ Commentary] at 8:30-15:06](/published/media/desperados-3/source-326-preview-a77c28e3e3.jpg)
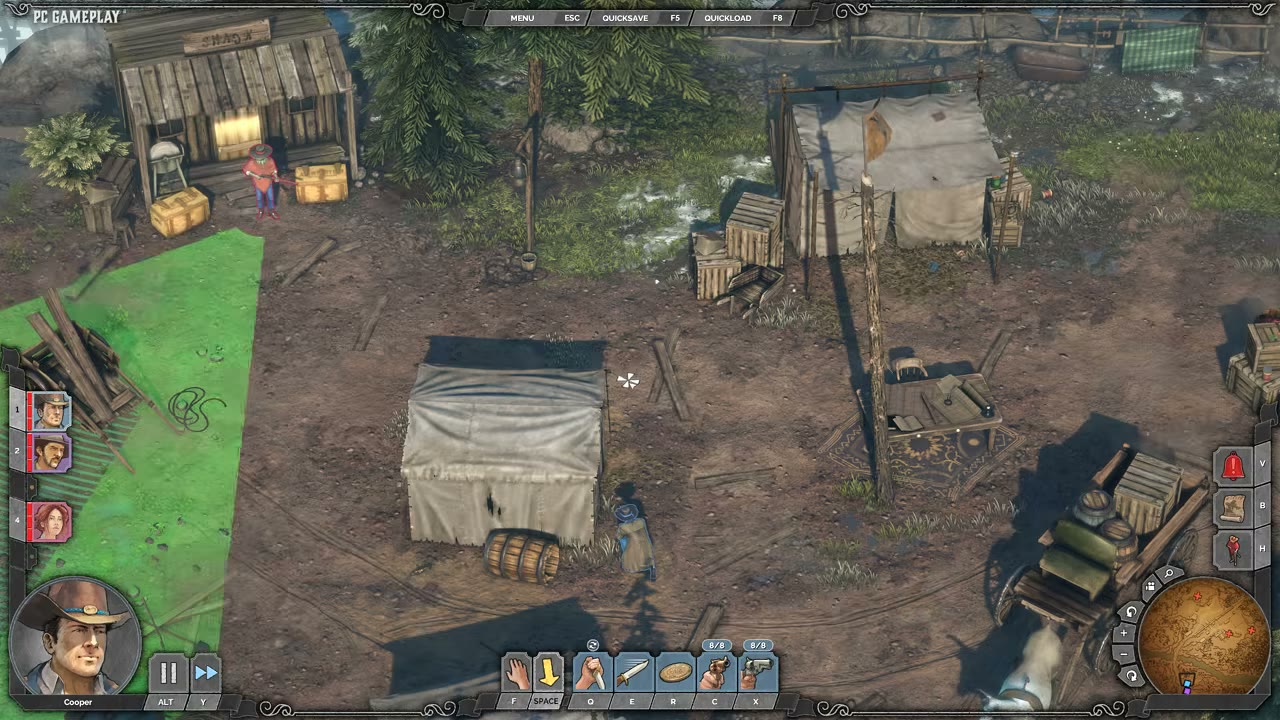

Tactical Stealth Mission Loop
Base
Desperados 3
- Status
- Released
- Year
- 2020
- Genre
- Strategy
- Platforms
- Windows, macOS, Linux
1. Summary
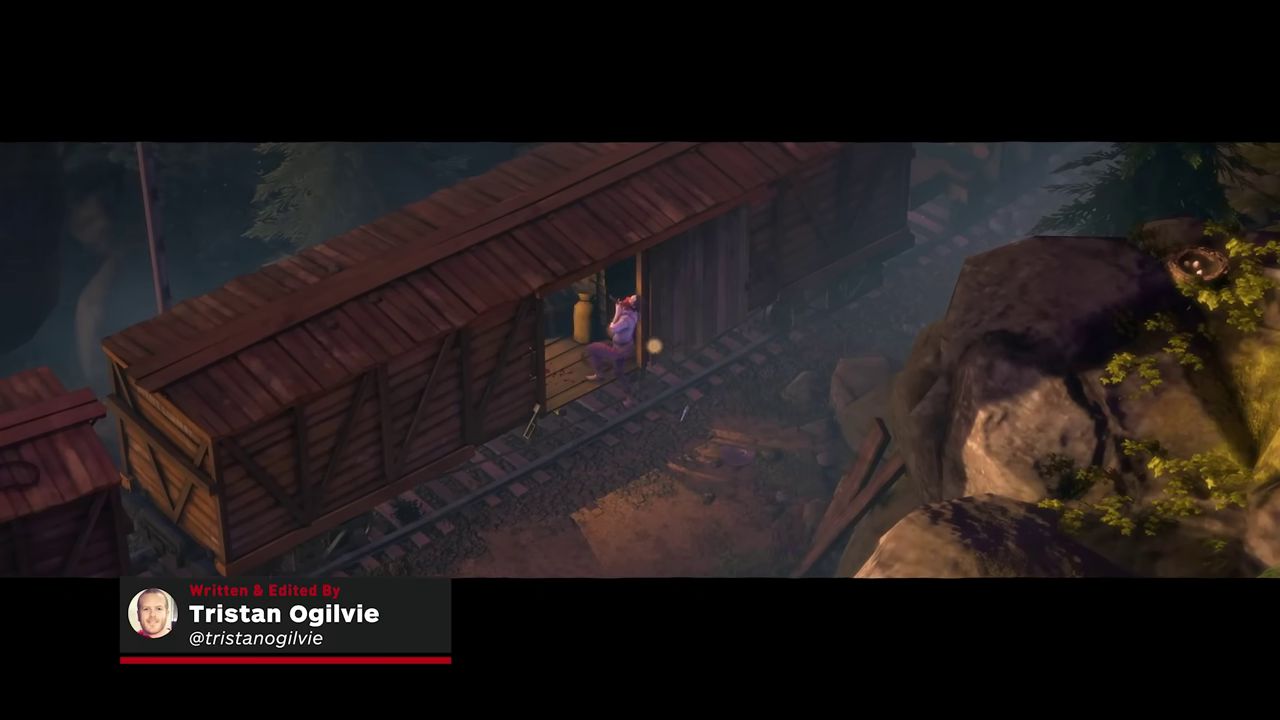
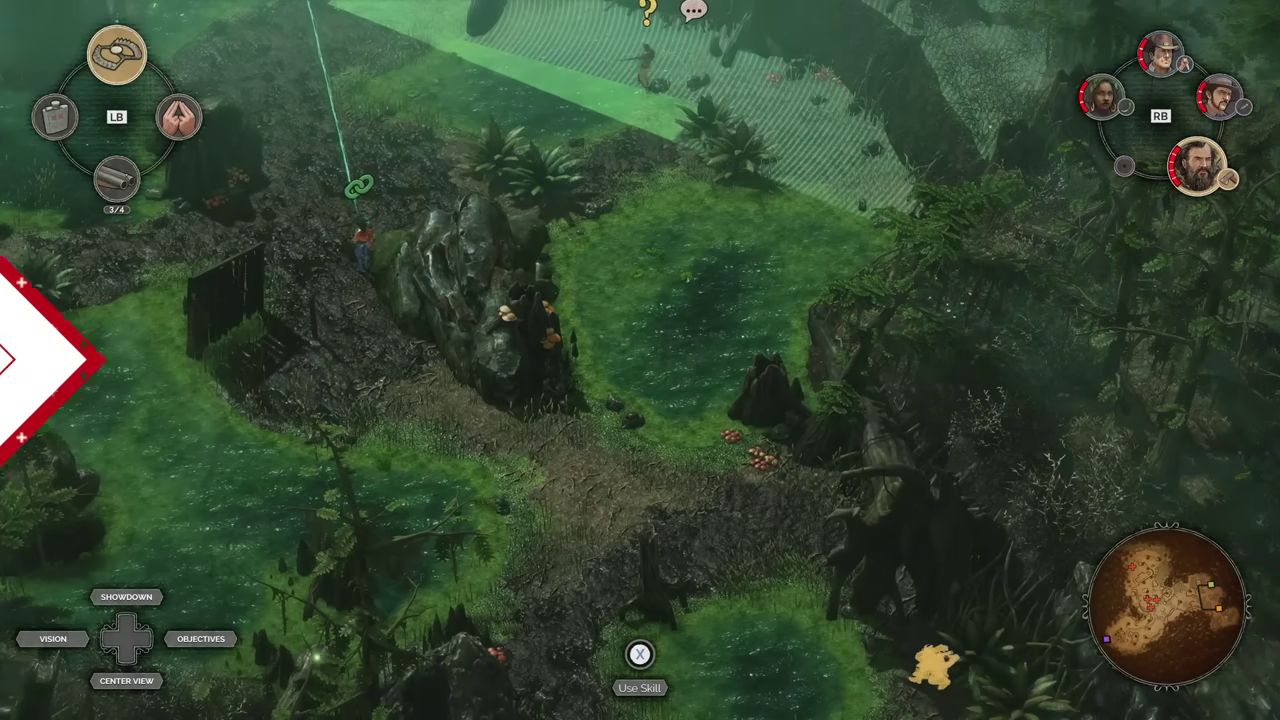
Desperados III is built around large real-time tactical stealth missions where the player clears specific objectives on expansive, handcrafted maps. Success comes from observing guard layouts, moving through routes and cover, isolating enemies, and completing objectives without necessarily triggering alarms or fighting openly. The loop is explicitly described as meticulous, experimental stealth across varied western settings with changing mission parameters.
3. Design Intent / Job Story
When I enter a guarded mission area with objectives to complete, I want to observe patrols, choose routes, coordinate the squad, and retry risky moves quickly, so that I can solve each encounter through stealth and tactical planning rather than reflex combat.
4. Role in Gameplay Loop
- Provides the top-level mission structure that all stealth, movement, perception, ability, and objective systems feed into.
- Turns each guarded area into a readable tactical puzzle: scout, isolate threats, execute a plan, conceal consequences, and advance.
- Supports multiple valid solution styles, from non-lethal/passive stealth to accident kills, synchronized takedowns, and louder emergency recovery.
- Uses quicksave/quickload and mission feedback to make repeated experimentation an expected part of difficult encounter solving.
- Connects mission objectives, map layout, patrol routines, character abilities, and alarm risk into one continuous real-time loop.
5. Preconditions
- An active mission or mission segment is loaded in the isometric gameplay view.
- The mission has at least one current objective, route, guarded area, or encounter state to resolve.
- The player has control of one or more available squad members.
- Enemy perception, patrol, investigation, or alarm logic is active in the mission space.
- The HUD can expose tactical information such as objectives, selected character actions, quicksave/quickload, minimap, and spatial markers.
- Mission failure, alarm escalation, or reload recovery can occur when the player’s plan breaks down.
6. Parameters
| Parameter | Value | Type | Notes |
|---|---|---|---|
| Mission Objective Count | 1+ active or staged objectives | integer | Number of current goals driving mission progression at a given point. |
| Playable Squad Size | 1-5 characters, mission-dependent | integer | Number of controllable characters available for the current mission segment. |
| Guard Density | Low / medium / high, mission-dependent | qualitative | Density of enemies and patrol coverage shaping route difficulty. |
| Vision Cone Coverage | Enemy- and state-dependent | spatial area | Ground area where enemies can detect characters, bodies, or suspicious actions. |
| Alarm Tolerance | None / investigation / reinforcement / mission failure | enum | Severity of consequences when stealth breaks in a mission or encounter. |
| Save Iteration Frequency | Manual quicksave and quickload | player-controlled | Expected cadence of rehearsal and recovery in difficult encounters. |
| Solution Style Mix | Avoidance, distraction, non-lethal, lethal, accident, synchronized action | set | Supported families of player solutions for encounter and objective resolution. |
| Objective Completion Scope | Local encounter / mission stage / full mission | enum | Scope of progression awarded when required conditions are satisfied. |
| HUD Tactical Feedback | Objectives, action bar, minimap, spatial markers, quicksave/quickload | set | Player-facing UI surfaces that keep the mission loop readable. |
| Mission Constraint Overlay | Optional badges, restrictions, difficulty, scripted mission rules | set | Additional constraints that can change which solution styles are valid. |
7. Core Rules
- A mission is composed of objective states embedded in a large, guarded isometric map.
- The player progresses by observing enemy routines, identifying safe routes or openings, and applying squad actions to reduce risk or bypass threats.
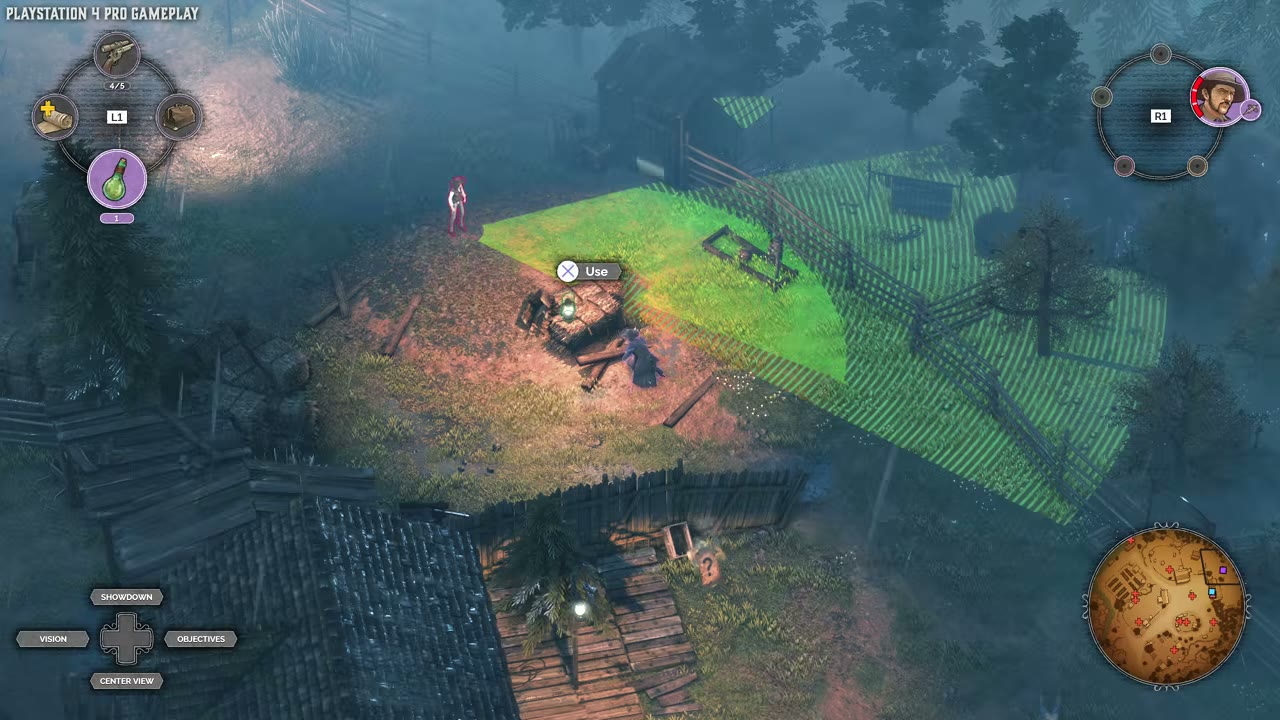
- Enemy vision and line-of-sight information must be readable before commitment through spatial overlays, markers, or direct observation.
- Most hostile encounters should have more than one viable solution path, including avoidance, distraction, non-lethal control, lethal takedown, environmental accident, or synchronized action.
- Alarm risk is a central constraint: witnessed takedowns, visible bodies, loud actions, or unsafe pathing can trigger investigation, escalation, reinforcements, failure, or a reload decision.
- Character selection changes the available tactical verbs, so mission spaces must support complementary abilities rather than a single universal solution.
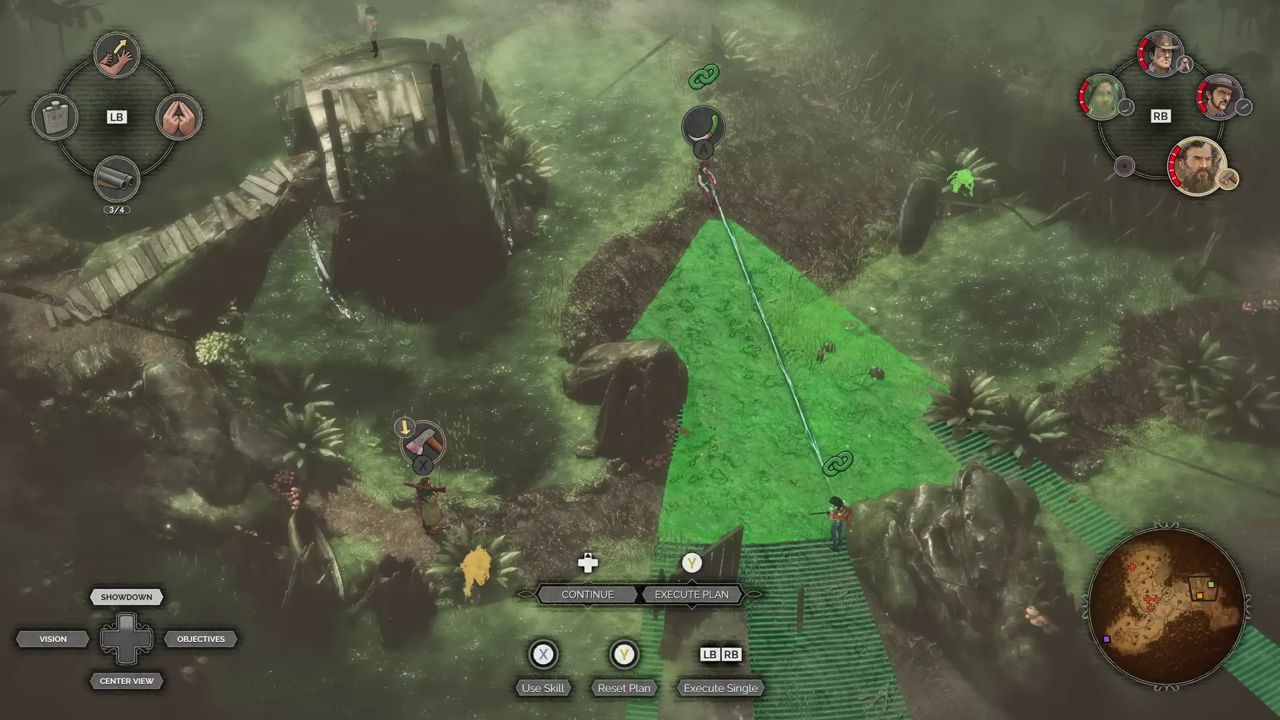
- Showdown planning can be used to queue or coordinate difficult sequences, but the same underlying actions should still exist in real time when the player can execute them manually.
- Quicksave and quickload are part of the expected player loop for rehearsing difficult encounters and recovering from failed plans.
- Clearing an area is not always required; the systemic goal is objective completion under the current mission constraints.
- Mission progression should preserve spatial awareness by keeping core HUD feedback visible during planning, execution, and recovery states.
8. BDD Scenarios
Scenario: Scout a guarded route
- Given
- an active mission contains a guarded path to the current objective
- When
- the player inspects patrol positions, view cones, and the minimap before moving
- Then
- the player can identify at least one route or timing window that advances the squad without immediate detection
Scenario: Resolve an isolated enemy group
- Given
- a group of enemies covers each other with vision or patrol timing
- When
- the player combines complementary squad actions to distract, isolate, neutralize, or bypass them
- Then
- the encounter resolves without raising an alarm if no hostile witness, body discovery, or loud action breaks stealth constraints
Scenario: Coordinate simultaneous actions
- Given
- two or more threats would raise the alarm if handled one at a time
- When
- the player queues or manually times multiple squad actions to occur in the same tactical window
- Then
- the threats are neutralized or bypassed before they can alert the area
Scenario: Recover through iteration
- Given
- the player’s plan causes detection, death, alarm escalation, or objective failure
- When
- the player quickloads a recent save and changes the route, timing, or ability combination
- Then
- the mission returns to the saved state and the player can attempt a revised solution
Scenario: Complete an objective without full area clearance
- Given
- the mission objective can be reached while some guards remain active
- When
- the player completes the objective and exits or advances according to mission rules
- Then
- progression is awarded even if the surrounding area is not completely cleared
9. Edge Cases
- A mission objective updates while the player is already in a detection or investigation state.
- The selected route looks clear on camera but a distant guard or off-screen patrol has line of sight to the target location.
- A body is hidden from the current camera view but remains visible to an enemy’s patrol path or vision cone.
- A synchronized plan partially succeeds because one character arrives late, is blocked by terrain, or performs an action with different timing than expected.
- A loud or suspicious action does not directly fail the mission but changes enemy state enough to invalidate the player’s planned route.
- The player completes an objective while one or more squad members are separated, incapacitated, or positioned in unsafe territory.
- Mission constraints or badges can make a normally valid solution style invalid for that run.
- Reloading after an alarm must restore AI, objective, body, resource, and character states consistently from the saved point.
10. QA Notes
- Verify each representative mission area supports observation, planning, execution, and recovery without forcing a single scripted solution.
- Test objective completion with stealthy, non-lethal, lethal, environmental, and partial-bypass approaches where the mission design allows them.
- Verify enemy vision cones, line-of-sight markers, alerts, minimap markers, action bars, and objective notifications remain readable during live gameplay.
- Regression-test quicksave and quickload after patrol movement, body movement, objective updates, resource use, alarm states, and character incapacitation.
- Test synchronized actions with different character travel speeds and action setup times to ensure expected alarm outcomes.
- Verify alarms and reinforcements trigger when a guard witnesses an illegal action, hears a loud action, discovers a body, or reaches another documented alert condition.
- Test mission failure and recovery screens for clear return paths into the loop.
- Test late-mission objective transitions to ensure players keep spatial context and know the next required goal.
11. Mechanic Dependencies
- Trial-and-Error Save Iteration Loop (The mission loop expects frequent quicksave and quickload iteration so players can rehearse risky stealth plans and recover from failed encounters.)
- Showdown Synchronized Planning (Showdown planning supports the synchronized execution layer used when simultaneous actions are needed to prevent alarms.)
- Squad Character Ability System (Squad abilities provide the tactical verbs used to solve guarded areas in multiple ways rather than through a universal interaction.)
- Environmental Interaction and Accident Kills (Environmental interactions and accident kills provide alternate objective-area solutions that can reduce direct detection risk.)
- Takedown and Body Control (Takedown and body control determines how eliminated or incapacitated enemies affect patrol safety, alarm risk, and area clearing.)
- Enemy Perception and Alarm AI (Enemy perception, view cones, investigation, and alarms define the risk model that makes stealth planning meaningful.)
- Distraction and Noise Manipulation (Distraction and noise manipulation creates openings in patrol patterns and lets the player reshape enemy attention inside the mission loop.)
- Mission Challenges, Badges, and Replay Goals (Mission challenges and badges add optional constraints and replay goals that modify how the same mission loop is optimized.)
- Movement, Terrain, and Cover Navigation (Movement routes, terrain, cover, climbing, crouching, and traversal constraints determine how the squad can approach objectives and avoid detection.)
12. UI Links
- Mission Failed Recovery Screen - The mission failed recovery screen handles breakdowns in the loop and returns the player to retry or reload after failure.
- Mission Badges Results Screen - The mission badges results screen reports optional challenge outcomes that encourage replay and optimization of the mission loop.
- Post Mission Statistics Screen - The post mission statistics screen summarizes completion performance after the mission loop resolves.
- Mission Objective Panel - The mission objective panel exposes current goals and completion state, anchoring the player’s tactical decisions to mission progression.
- Top Quick Menu Bar - The top quick menu bar keeps Menu, Quicksave, and Quickload visible during live play, supporting the loop’s expected retry cadence.
- Character Roster And Selected Portrait - The character roster and selected portrait show which squad member is controlled, allowing the player to switch tactical capabilities during the loop.
- Character Action Bar - The character action bar exposes the selected character’s abilities, resources, and hotkeys used to execute mission plans.
- Gameplay Minimap - The gameplay minimap preserves route and spatial awareness while the player navigates guarded mission areas.
- Showdown Mode Execution Interface - The Showdown execution interface displays and controls queued multi-character actions for synchronized plan execution.
- Tactical Spatial Markers - Tactical spatial markers expose view cones, alert markers, targeting prompts, and other map-anchored feedback needed to assess stealth risk.
References
- 1.
Desperados III (L5-9 of 50)
- 2.
Desperados 3 Review (0:09-0:43)
- 3.
Desperados 3 Review (1:54-3:26)
- 4.
Desperados 3 Review (3:36-4:47)
- 5.
DESPERADOS III - Know THESE Important Tips Before Playing (3:17-4:23)
- 6.
DESPERADOS III - Know THESE Important Tips Before Playing (4:23-4:52)
- 7.
Desperados 3 Let's Play Gameplay Walkthrough Pt 5 Bridge At Eagle Falls [1440p w/ Commentary] (8:30-15:06)
- 8.
DESPERADOS III - Know THESE Important Tips Before Playing (6:35-7:03)